How to Apply Epoxy Coating on Your Floor
Epoxy resin systems are definitely some of the best decisions that you can make on your floors. More than just a way to cover your bare concrete surfaces, epoxy coatings provide your floors with unprecedented durability, impact resistance, long-lasting strength, and excellent moisture-resistant capabilities.
Usually, people would like to hire a professional flooring contractor to apply epoxy coatings on the floors, but some people may also take this as an opportunity for a do-it-yourself project. Even if epoxy does have all of the features mentioned above, if the coating is applied poorly, you won’t be able to take advantage of its benefits.
Fortunately, applying your own epoxy coatings can be done in a few simple steps with the right tools, coating, and materials. Check out the simple, yet comprehensive guide below to get you started!
Know Your Product
Before starting off with the application process, it’s crucial that you understand the product that you’re working with. The epoxy resin you’re using comes with a set of manufacturer recommendations, guidelines, and specifications. Being aware of these pieces of information helps you apply the coating properly.
For example, there are epoxy screed systems that are suitable for wet environments. These are areas whose floors are frequently exposed to sources of moisture — your chosen epoxy coating should be designed for these areas. If you choose a resin that’s not built to withstand high humidity levels and wet zones, the coating could easily peel off and wouldn’t last long in the room.
Keeping this in mind, you should always do your research first on the applicability of your epoxy coating to different types of surfaces. Read up on your product’s technical documents so you could have an idea of this, as well as other considerations, like chemical resistance, traffic suitability, ultraviolet ray stability, and many more.
Get the Right Tools
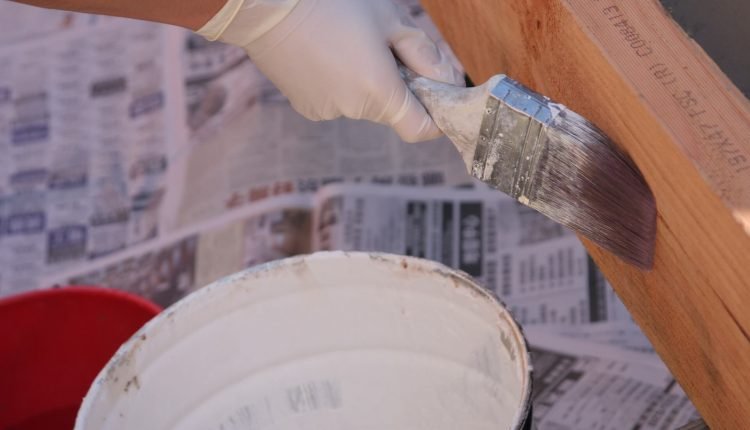
Now let’s get into the nitty gritty of your epoxy floors. As mentioned before, you need to have the right tools to make the process smooth for you. Typically, epoxy coatings require the following materials:
- Floor sweeper
- Vacuum (optional)
- Paint rollers
- Pail
- Paint roller
- Paint brush
- Personal Protective Equipment
- Gloves
- Putty/Concrete filler
- Trowel/Caulker
- Sandpaper
These are just some of the basic materials that you’ll be using throughout the entire operation. As always, you should continually refer back to any technical documents that may come with your epoxy coating kit, in case the manufacturer has recommended other materials for use.
Epoxy coating projects always begin with surface preparation, which is why you need to get a hold of surface cleaning materials like the ones mentioned above. As you’re already applying the different coating components, you’ll also need to wear gloves and other PPEs to make sure that the fumes don’t affect you during the process.
Prepare the Surface
Now it’s time to prepare the surface of your floors. This means that any dust, debris, dirt, grime, or old, pre-existing coatings are removed from your floors. This is done to make sure that the coating properly bonds/adheres to your floor material. With proper surface treatment, your epoxy will last for a much longer period without experiencing bubbles or any irregular surfaces that can affect the appearance and floor quality.
If you’re applying the coating on a brand new concrete substrate, inspect all areas of the floor and get rid of any unwanted dirt or substances like oil or grease that can affect the bonding. If you’re working with old floors, then you may need to do a lot more work.
- First, you’ll want to vacuum your floors, making sure to get into every nook and cranny for comprehensive cleaning. If you don’t have a vacuum, you could always use a simple floor sweeper or a broom to get the job done.
- Next, assess your floors for any minor cracks or damages. You would need to apply putty or concrete filler using a trowel. Allow the material to cure according to instructions.
- Finally, it’s important to sand your floors not only to even out the areas where you’ve applied a filler, but also to make sure that no existing resin is present. Dust off any remaining dirt before applying the first epoxy coating and make sure that there are no wet areas present.
Apply the Coating
Epoxy resins usually come as a two-part system that includes the hardener and the main coating which can also appear in a variety of shades and colors. Mix these ingredients thoroughly together once again, according to the product’s instruction. Poor mixing can reduce the coating’s efficiency even after letting it settle, so this is a crucial step that you shouldn’t miss out.
After doing the steps above, you’re now ready to apply the epoxy. It appears paint-like in consistency, so apply it as you would a paint, using your roller and a pail or any container. Avoid discoloration and uneven surfaces by always making sure that your workable or “wet” areas are maintained.
Allow the coating to set and cure. If there are any mistakes to your first coating, make sure that it is dry before applying a second layer — allow it to rest for at least 12 hours before starting again.
Key Takeaway
When it comes to applying your epoxy resin, it’s important that you know where to begin. In this simple guide, several steps have been outlined, beginning from material gathering, surface preparation, floor repair, and application.
Keep in mind that if you want to avoid any issues whatsoever, it’s advisable that you constantly refer to your product. This is because the instructions can vary from coating to coating. Once you’re sure that you already know where to begin, you may now start with your project.


